
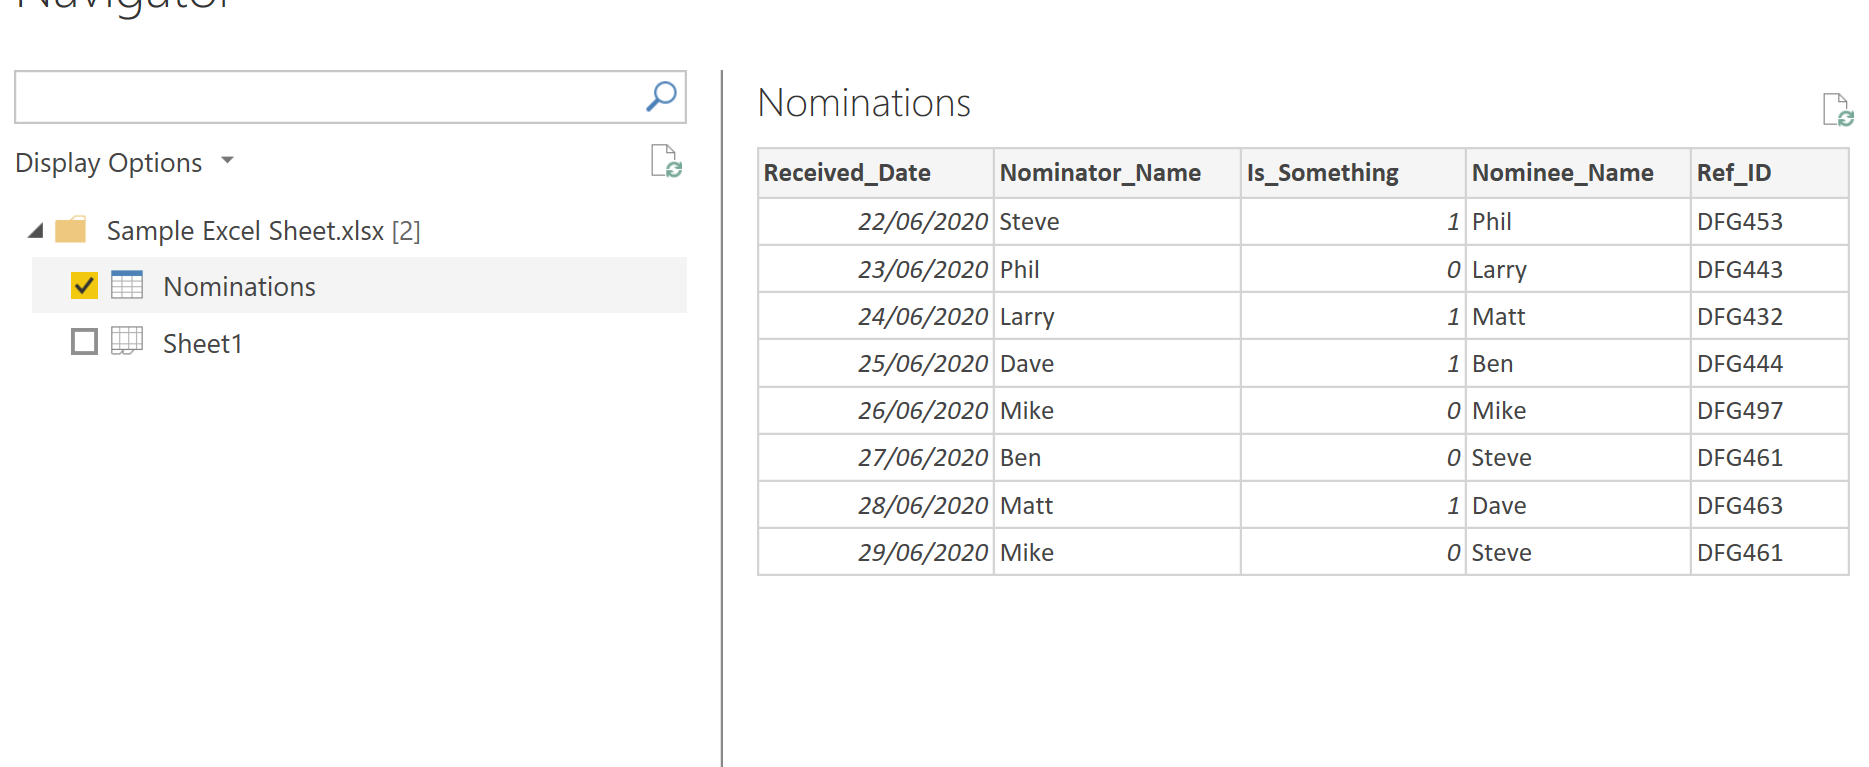
Continuing on from our previous posts about Databricks, we are now going to look at structured streaming. For this series of blog posts we are going to use some data from the Seattle Fire Service that is updated every 5 minutes.
As not everyone has access to an Azure subscription or the resources to allow them to use an existing Databricks cluster, we will start off by creating a Databricks Community account.
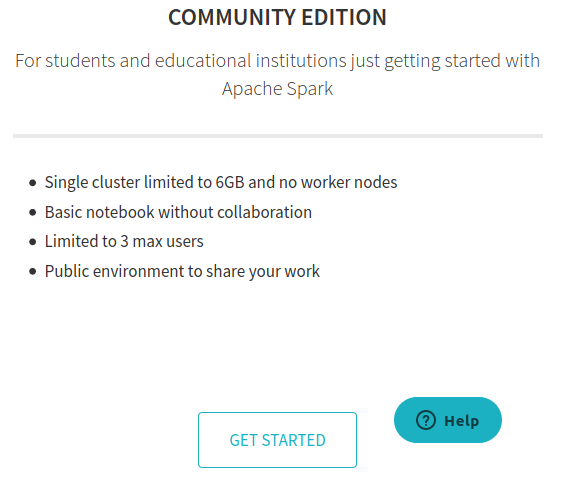
By using the Community Edition of Databricks you, the reader, can experience the basics of structured streaming without the additional cost of a configuration that comes with the other editions.
The main objective of these blogs is to get you up and running with Databricks quickly so that you can play with the features and learn at your own pace.
- Databricks website
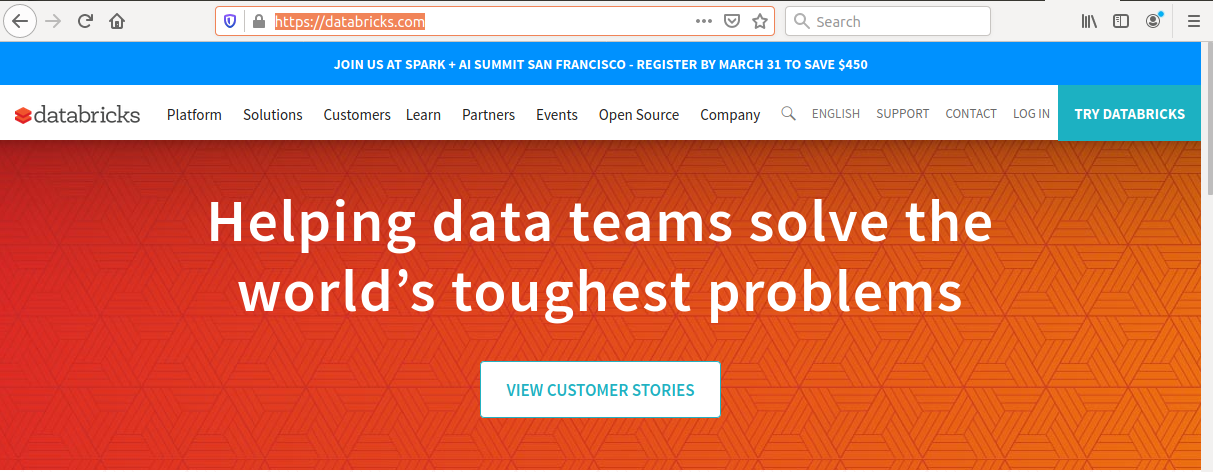
- Click on "TRY DATABRICKS" image on the right of the screen
- The following web page will be shown
- Choose "Community Edition" by clicking "GET STARTED"
- Sign up for the Community Edition

- Click "Sign Up" to confirm

- Once the sign up is complete you will be prompted to check your email address to complete the authentication
- Click on the link in the email to complete the signup process.
If all goes well you should now be able to sign into the Databricks Community Portal:
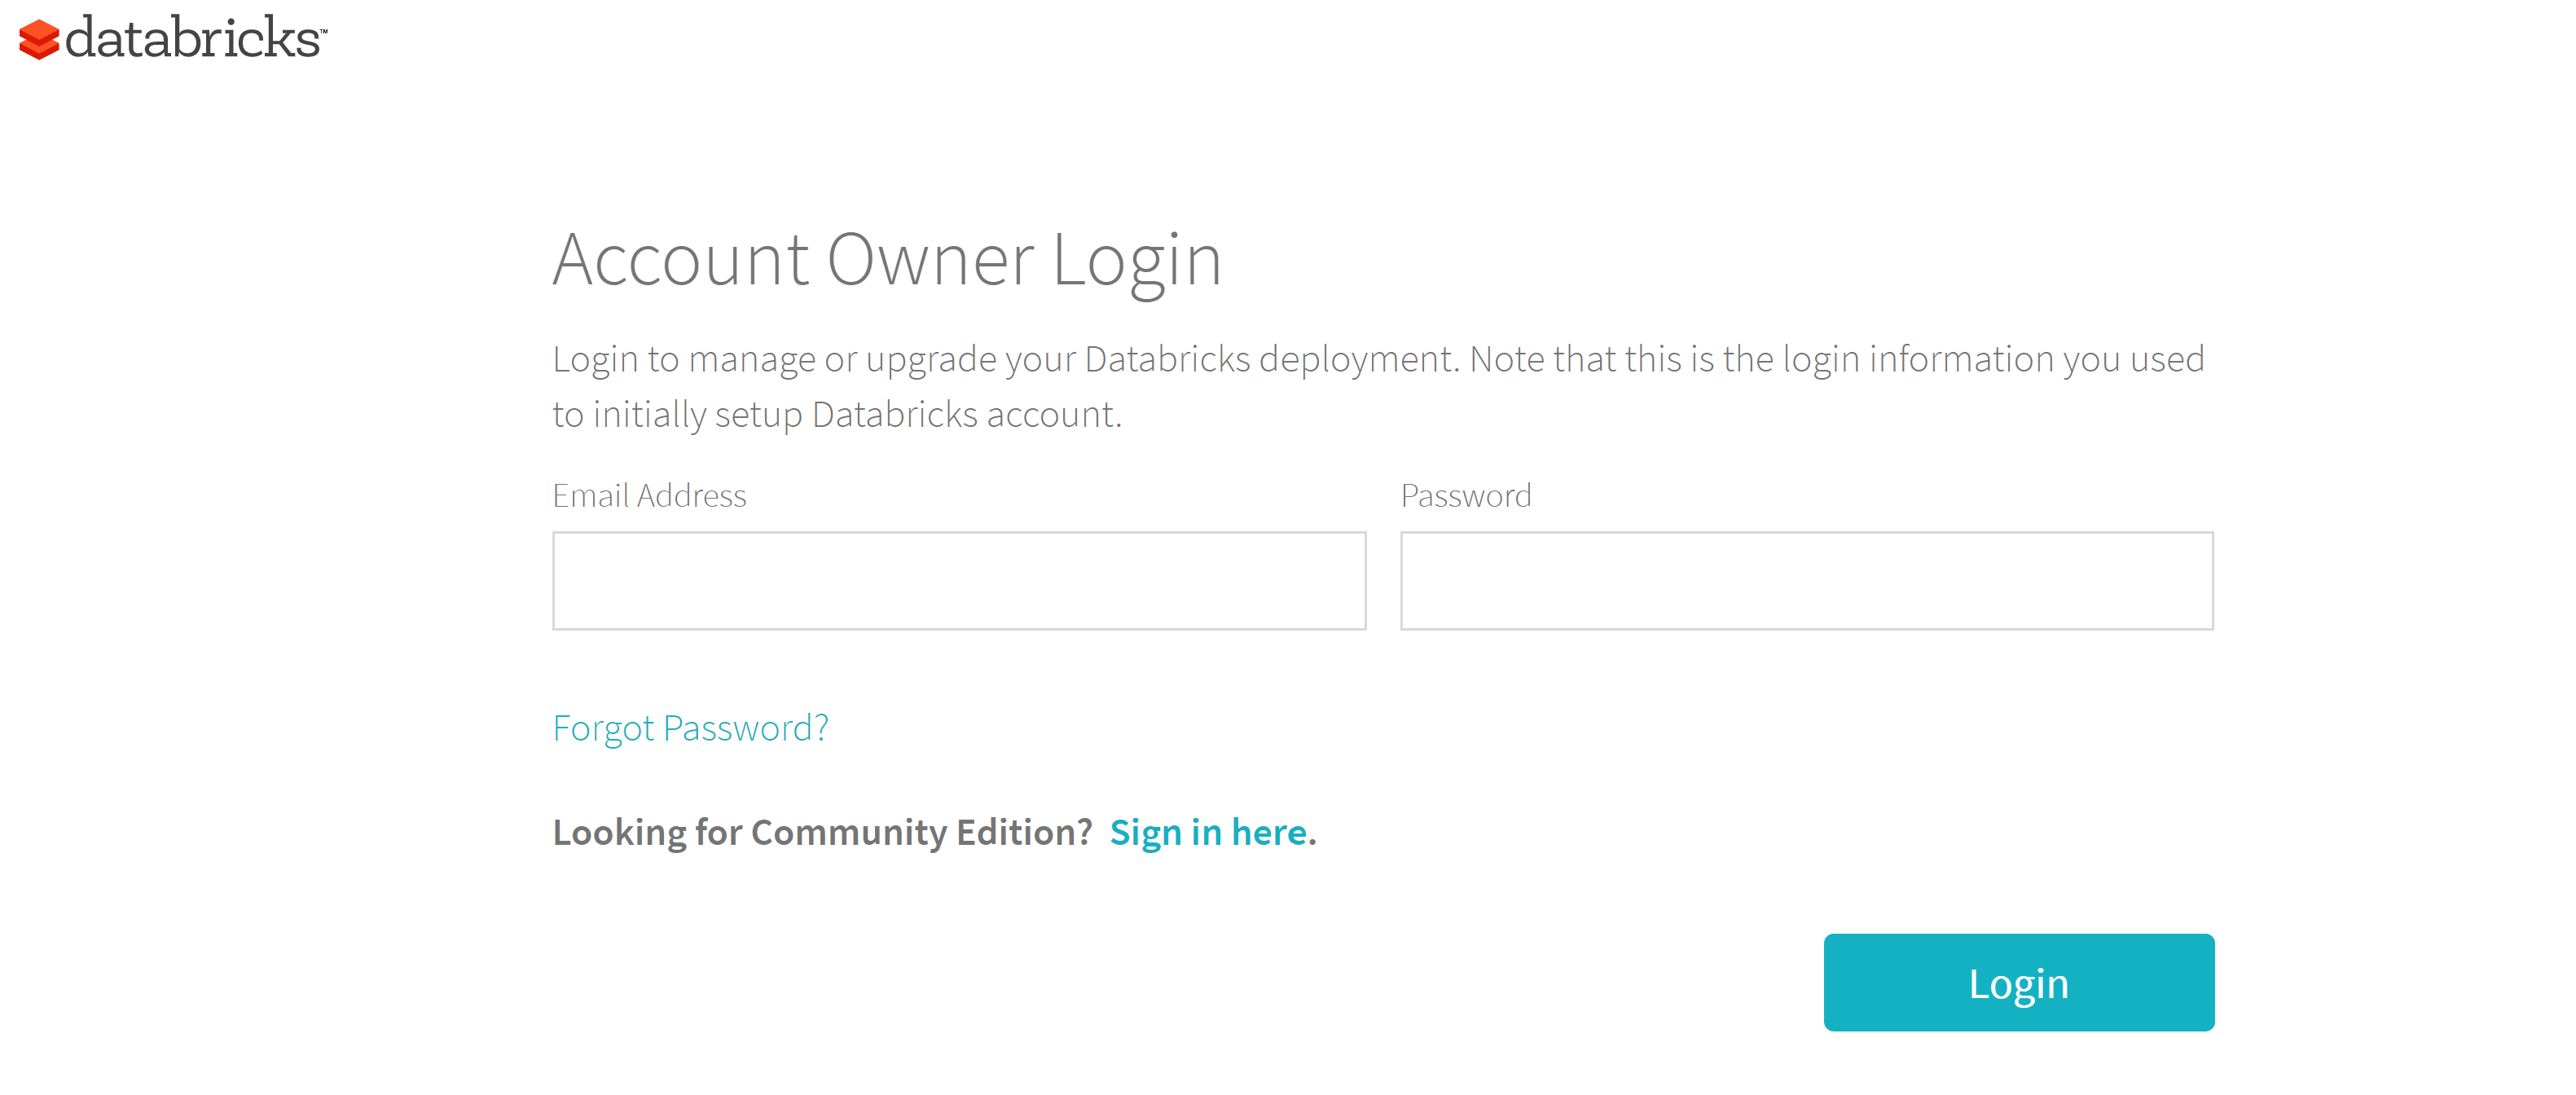
- Databricks website
- Click on the "LOG IN" link
- On the "Login" page click the "Sign in here" link next to the "Looking for Community Edition"
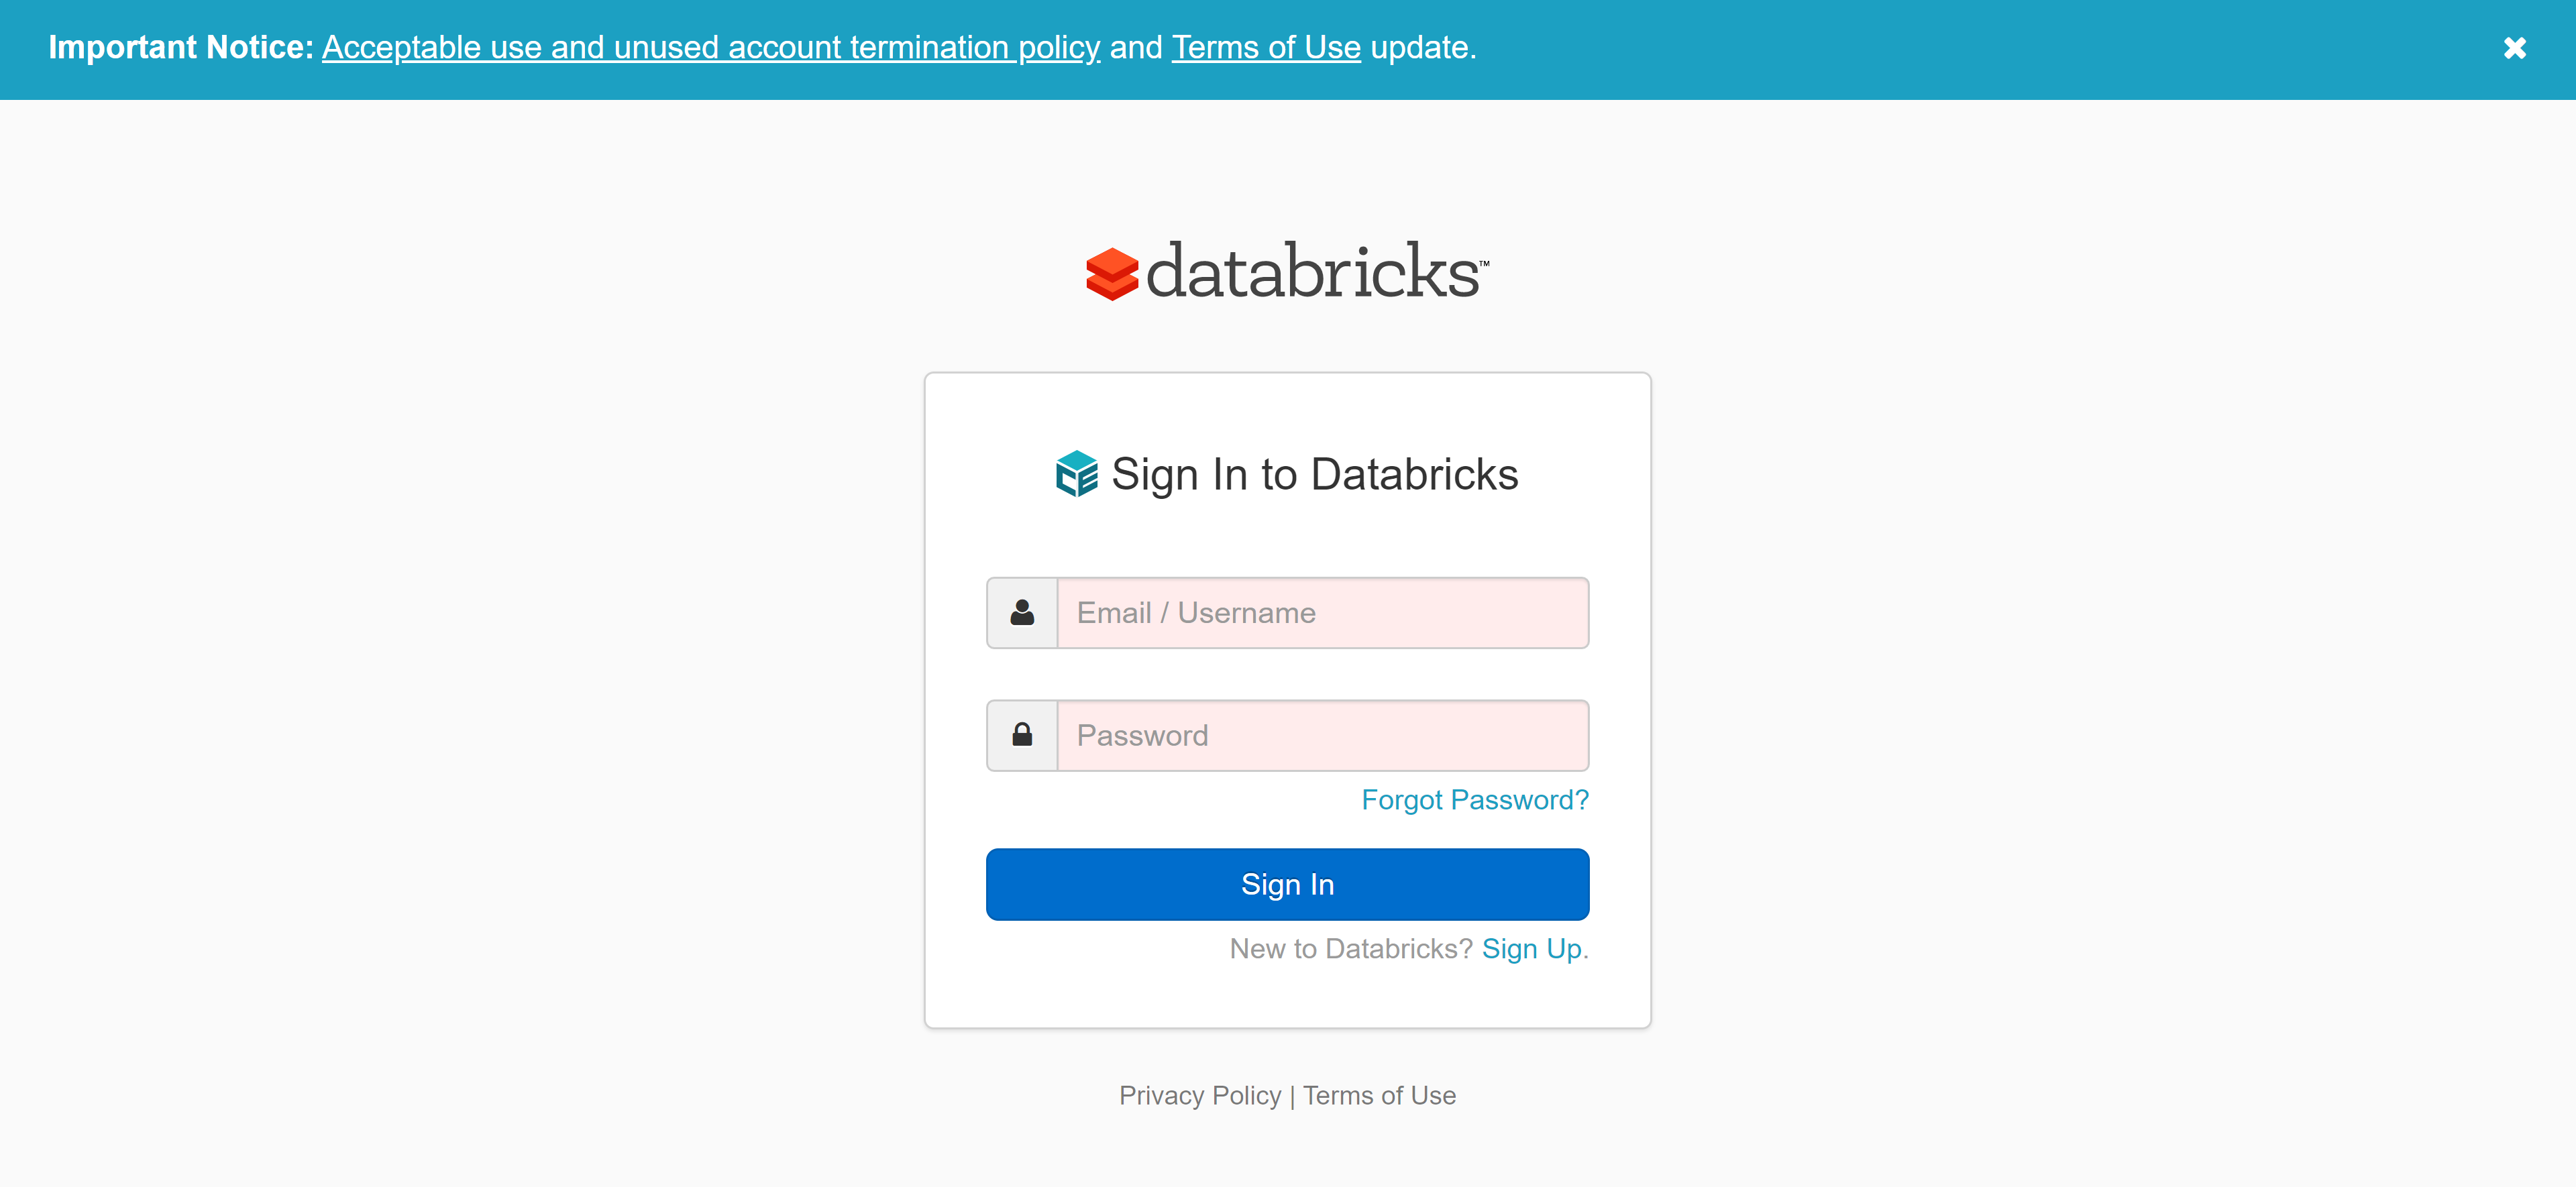
- Log in to Community Edition with the credentials that you signed up with
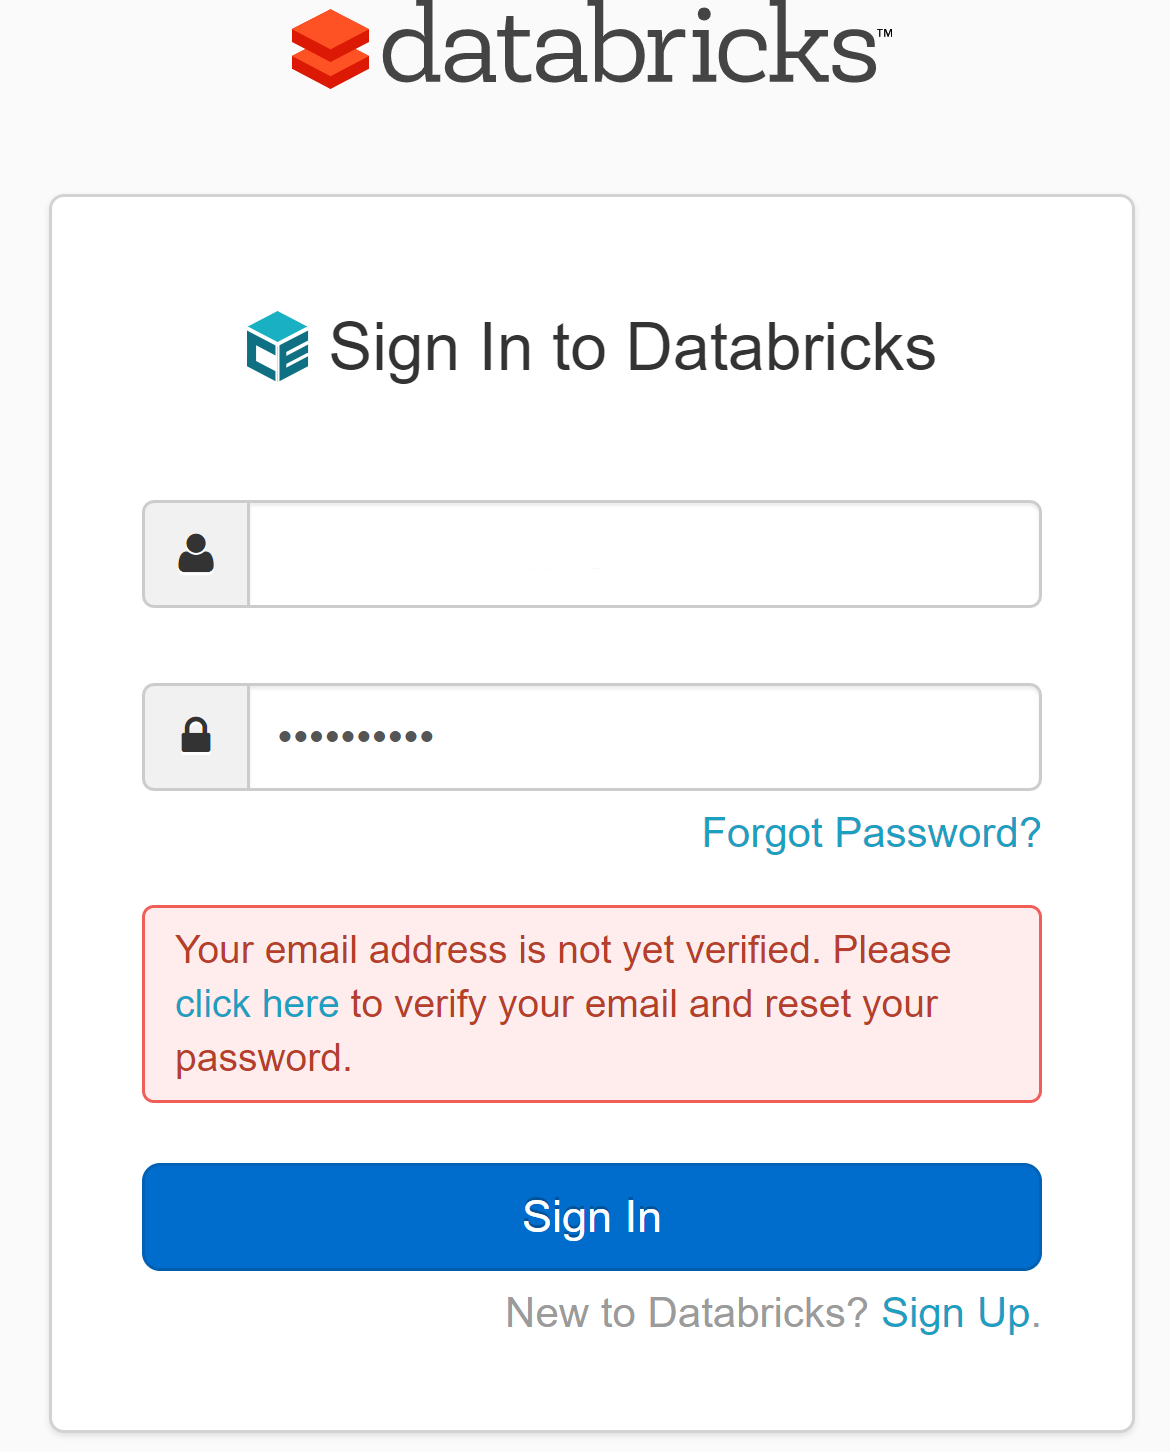
- If you receive the "Your email address is not verified" message then you have not verified your account using the email sent
- Log in to Databricks https://community.cloud.databricks.com/login.html

- From the left hand side click "Clusters" or choose "New Cluster" from common tasks

- Create a new cluster
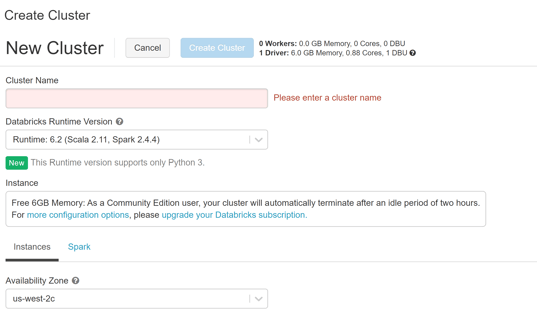
- Enter the name for the cluster

- Click "Create Cluster" and wait for the cluster to be created
- Once the cluster is created we can continue
In this post we have
- Created a Databricks Community account
- Created our first Databricks cluster.
In the next post we will explore the dataset that we want to use and prepare it for use.
