
One of the interesting new features of SQL Server 2014 was being able to place SQL Server database files directly in Azure blob containers. The purpose of this post is to walk you through setting up a database with its data and log files in Azure. In a later post I plan to test the performance of a database configured this way.
Why would you want to put data files in Azure?
Ease of migration – You could almost consider Azure blob storage to be a NAS in the cloud with unlimited storage potential. You can host your data and log files in Azure but your databases are on local SQL Server instances. When migrating databases between servers it would be as simple as issuing a detach and attach command and hey presto, you’re done.
Cost and storage benefits – Buying disks for on premises servers is relatively cheap these days when compared to the cost of SQL Server licensing. The cost of storing blobs in Azure can be found here: https://azure.microsoft.com/en-gb/pricing/details/storage/ but your first 1TB is (at the time of writing) is charged from as little as £0.0147 per GB which is hard to beat. You can store up to 500TB in each storage account, but one restriction to be aware of is that the maximum size of a page blob (the type we need) is 1TB. This means you may need to create more data files in your file groups if you have databases greater than 1TB in size.
Disaster recovery – Disaster recovery plans might be greatly simplified. Having a HA on premises solution to handle minor non-catastrophic outages is always something I advise. Having standby kit for the purposes of DR can be expensive, especially when you consider the likelihood you’ll ever need it might be slim. If you DR plan is to simply quickly stand-up a new server in an alternate location, you don’t want to have to worry about fetching off site backups or copying files over to the new location (if you can get them!). Simply re-connect your server to the Azure blobs!
Snapshot backup – Whilst I always advise taking traditional SQL Server backups, it is possible to use Azure snapshots to provide near instantaneous backups. For more information on that feature see here: https://msdn.microsoft.com/en-us/library/mt169363.aspx
How do we do it?
We’re going to be using PowerShell to do a lot of the configuration for us. I’ll be creating a new database but it is also possible to migrate databases you already have (I’ll include some script to help with that too).
I will be using the ARM (Azure Resource Manager) version of Azure and its associated PowerShell. If you’re using ASM (Azure Service Manager (Classic)) then you may need to alter the script a little.
So the steps we need to complete are:
- Create a resource group
- Create a storage account
- Create a container
- Create an access policy
- Create a shared access signature
- Create a SQL Server credential
- Finally, create our database
Use the PowerShell below to address steps 1 – 5. Comments in the code will help you to understand what is happening at each stage.
# Set these to your subscription name, storage account name, and a new container name
#
$SubscriptionName='SimonCoeo'
$resourceGroupName= 'simontestazureblob'
$StorageAccountName='simontestazureblob'
$location= 'North Europe'# Set the Azure mode to ARM
#
Switch-AzureMode -Name AzureResourceManager
New-AzureResourceGroup -Name $resourceGroupName -Location $location
New-AzureStorageAccount -Type Standard_LRS -StorageAccountName $storageAccountName -ResourceGroupName $resourceGroupName -Location $location# A new container name, must be all lowercase.
#
$ContainerName='simontestazureblob'# Sets up the Azure Account, Subscription, and Storage context
#
Select-AzureSubscription -SubscriptionName $subscriptionName
$accountKeys = Get-AzureStorageAccountKey -StorageAccountName $storageAccountName -ResourceGroupName $resourceGroupName
$storageContext = New-AzureStorageContext -StorageAccountName $storageAccountName -StorageAccountKey $accountKeys.Key1# Creates a new container
#
$container = New-AzureStorageContainer -Context $storageContext -Name $containerName
$cbc = $container.CloudBlobContainer# Sets up a Stored Access Policy and a Shared Access Signature for the new container
#
$permissions = $cbc.GetPermissions();
$policyName = 'policy1'
$policy = new-object 'Microsoft.WindowsAzure.Storage.Blob.SharedAccessBlobPolicy'
$policy.SharedAccessStartTime = $(Get-Date).ToUniversalTime().AddMinutes(-5)
$policy.SharedAccessExpiryTime = $(Get-Date).ToUniversalTime().AddYears(10)
$policy.Permissions = "Read,Write,List,Delete"
$permissions.SharedAccessPolicies.Add($policyName, $policy)
$cbc.SetPermissions($permissions);# Gets the Shared Access Signature for the policy
#
$policy = new-object 'Microsoft.WindowsAzure.Storage.Blob.SharedAccessBlobPolicy'
$sas = $cbc.GetSharedAccessSignature($policy, $policyName)
Write-Host 'Shared Access Signature= '$($sas.Substring(1))''# Outputs the Transact SQL to create the Credential using the Shared Access Signature
#
Write-Host 'Credential T-SQL'
$TSQL = "CREATE CREDENTIAL [{0}] WITH IDENTITY='Shared Access Signature', SECRET='{1}'" -f $cbc.Uri,$sas.Substring(1)Write-Host $TSQL
Once that has executed take the T-SQL Script that was generated as the output and run that on the instance of SQL Server where you want to create your database.
-- Output From PoSh

CREATE CREDENTIAL [https://simontestazureblob.blob.core.windows.net/simontestazureblob]

WITH IDENTITY='Shared Access Signature',

SECRET='Your SAS Key'
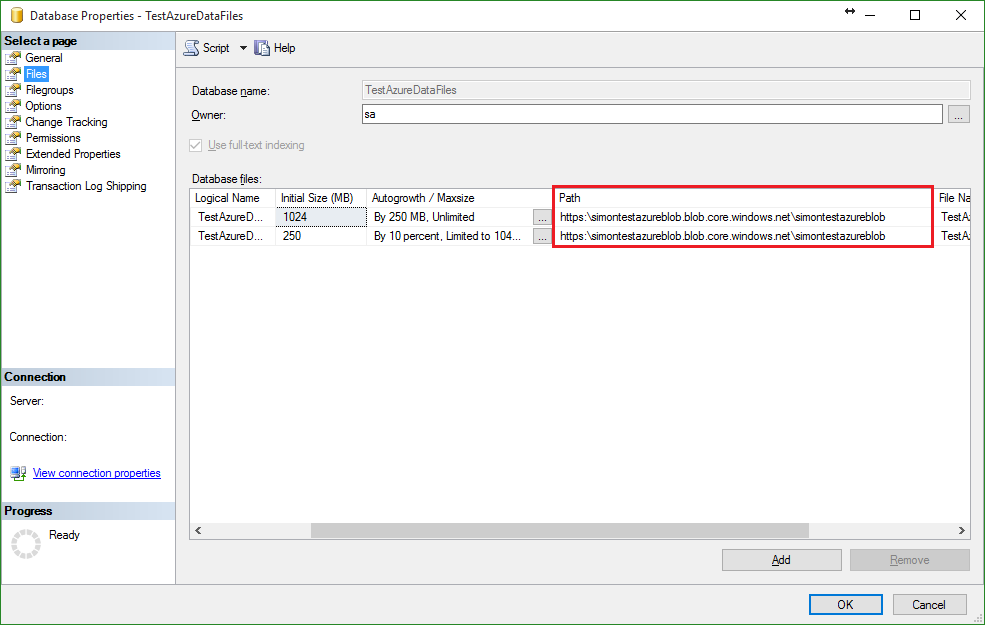
And for our final step, a relatively straightforward CREATE DATABASE command.
-- Create database with data and log files in our Windows Azure container.

CREATE DATABASE TestAzureDataFiles

ON

( NAME = TestAzureDataFiles,

    FILENAME = 'https://simontestazureblob.blob.core.windows.net/simontestazureblob/TestAzureData.mdf' )

 LOG ON

( NAME = TestAzureDataFiles_log,

    FILENAME =  'https://simontestazureblob.blob.core.windows.net/simontestazureblob/TestAzureData_log.ldf')
Now that, that has been created we can look to compare the performance of our Azure hosted database against a locally stored database. Once I’ve got some test results to share I’ll post with Part 2.