
Automating SQL Server with PowerShell
If you perform the same task more than once, you're probably asking yourself "how can I automate this?" PowerShell provides the tooling to automate monotonous tasks that require manual effort.
Using PowerShell with SQL Server
Check first to make sure that you have the correctly loaded module for SQL Server. The one that you need is called SQLServer, not the older SQLPS module. SQLPS is now deprecated.
- Install-Module SqlServer
- Import-Module SqlServer
- Get-Module
This module is available from Microsoft and will enable you to automate a whole host of things that you are used to doing manually or with complex T-SQL scripts. If you've read my previous blog post, you'll know that the following command is very useful in helping us understand what Cmdlets are available within a module.
- Get-Command -Module SqlServer
Now lets go through 5 quick examples of how we can automate things using the SQL Server PowerShell module.
Lesson 1. Using the SQLServer module directory navigation
One of the most interesting features when using PowerShell with SQL Server, is the ability to navigate the objects within SQL Server in a similar way to how you'd navigate the file system in a command prompt.
This is performed by using the function SQLSERVER:
- CD SQLSERVER:\SQL\
- Set-Location SQLSERVER:\SQL\
See Figure 1. below for the output from this query.
Figure 1. SQL Server SQL
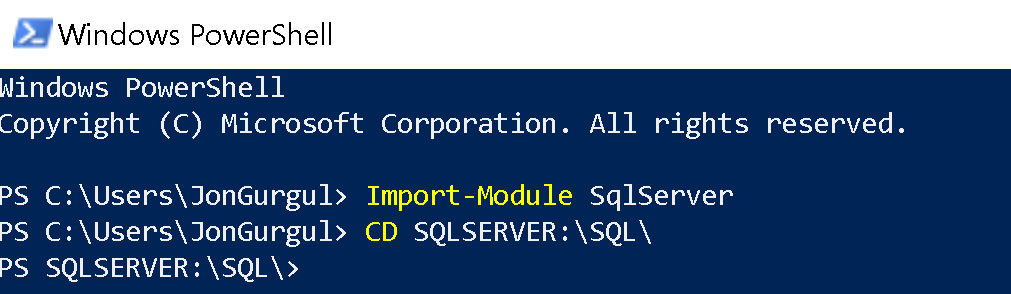
Once in this structure, you can navigate to the machine name and instance name as appropriate. For example, the path to my default instance on this laptop is SQLSERVER:\SQL\JON-XPS13\DEFAULT
Alternatively, we can use $ENV:ComputerName in place of JON-XPS13 to allow the command to run on any machine. For example SQLSERVER:\SQL\$ENV:ComputerName\DEFAULT
You can then navigate around this structure and become familiar with all the objects within SQL Server.
Lesson 2. Show databases
Here are three methods to show database information.
- Navigate to the Databases folder and use the dir or ls command to list the content using the knowledge learnt from Lesson 1.
Use the full path to the Databases folder and display the output.
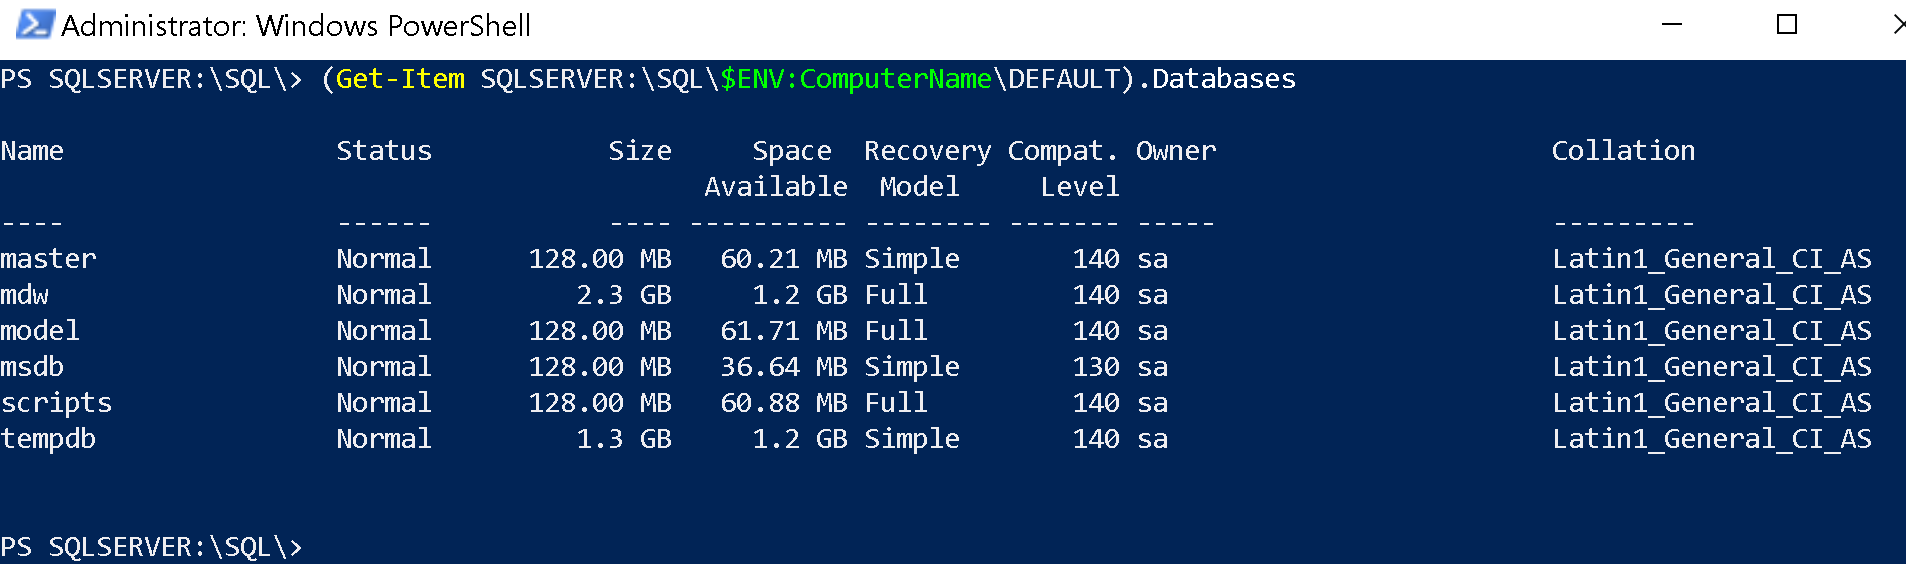
- (Get-Item SQLSERVER:\SQL\$ENV:ComputerName\DEFAULT).Databases
Use the SMO server object to display the database information.
- $Server = New-Object "Microsoft.SqlServer.Management.Smo.Server" "(local)";
- $Server.Databases
Figure 2. shows a typical output for databases.
Figure 2. SQL Server Databases
Lesson 3. Show error log
You can output the SQL Server Error Log by using the Get-SqlErrorLog Cmdlet. If the context of the instance has been set, it can be executed in isolation. This will have been set if you navigated to your instance via the directory browsing method explained above.
If you want to pass the instance name as a parameter because it has not been set or you want to query another instance, you can pass the instance name as follows, in this case I'm connecting to a local default instance.
- Get-SqlErrorLog -ServerInstance "(local)"
Lesson 4. Write to a simple table
The following example shows you how to query failed logins for the past 24 hours and insert them into a table called x in tempdb.
- $Data = Get-SqlErrorLog -After (Get-Date).AddHours(-24) -Ascending|Where-Object{ $_.Text -match 'Login failed'};
- Write-SqlTableData -InputData $Data -DatabaseName tempdb -SchemaName dbo -TableName x -Force
Lesson 5. SQL job history
To retreive the SQL Server agent job history, navigate to the following object, replacing the machine name and instance name as appropriate.
SQLSERVER:\SQL\JON-XPS13\DEFAULT\JobServer
Then run the Get-SqlAgentJobHistory Cmdlet
To return only the job level status, execute the following:
Get-SqlAgentJobHistory|?{$_.StepName -eq "(Job outcome)" }|Select JobName,RunDate,RunStatus
